Oil paint has gained its popularity in the world of painting and has held it for more than one century thanks to a variety of techniques. Here the artist can adjust an artwork at each stage of applying new layers, constantly improving the painting.
What's more, oil paints can be mixed and stacked on top of each other, creating effects that can be difficult to achieve with other materials. This also applies to the gradient, in the creation of which oil painting has an undeniable advantage over other techniques. How to correctly and effectively create a gradient using oil paints will be discussed in this article.
Gradient in painting

First, we need to find out what a gradient is and what place it occupies in painting.
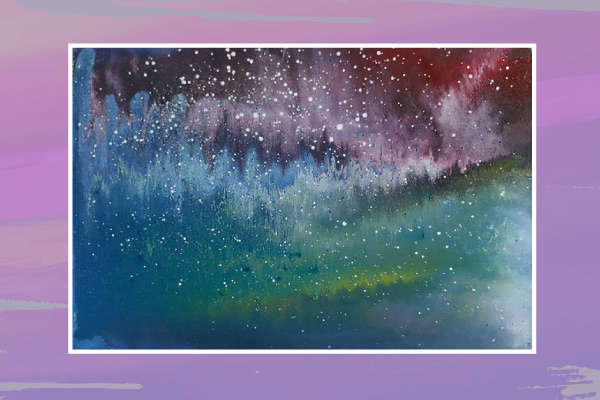
Gradient is a color-stretching technique in painting that creates a smooth transition between two or more colors. It is most commonly used to depict the sky at dusk or dawn, but it can also be used for other purposes. You can create a gradient using watercolors, gouache, acrylic, but often, the gradient is most effectively presented in oil painting.
How to make a color-stretching with oil paints

If you want to make a color stretch, or in other words — an oil gradient, you need to arm yourself with the following tools:
- canvas;
- linseed oil;
- oil paints;
- palette knife;
- flat bristle brush;
- wide flat paintbrush
- dry clean rags
The process of creating a gradient with oil paints can be divided into the following stages:
Smearing the canvas with a linseed oil. You can use a regular household sponge or rag to do this. This will create a smoother and softer color stretch.
Soaking the canvas with a dry rag to remove excess oil.
Applying paints with a flat bristle brush to the canvas. Select the colors you want to stretch and overlay them back to back. The brush must be wiped down after using each shade.
Checking the thickness of the paint layer. Check the layer thickness of each color with a light touch of your finger. If the paint is printed in such a way that the pattern of your prints is slightly translucent, that's fine. If the pattern of your prints is not visible, the paint layer is too thick. Then you need to remove the excess paint with a palette knife. If the paint is very weakly imprinted on the finger, it is not enough, and it is necessary to make the layer thicker.
Mixing two colors or shades using the wide flat paintbrush. Place the brush at a 90 degree angle to the paint layers, so that half of the brush is on one color, the other half on the other, and begin to move in the shape of an inverted figure eight with the brush. At the same time, it is important that your movements are uniform and do not go beyond these two colors.
Moving to next shades with a clean brush. After you finish stretching two shades or colors, wipe the brush with a dry cloth and move on to stretching the following. Remember, we can only blend two colors at a time when creating a gradient.
That's the whole process of linear color stretching. In addition, radial stretching of colors (in a circle) is possible. In this case, you need to adhere to the same rules for mixing shades, only start moving from the center to the edge.
You can watch how to make a gradient with oil correctly in the video:

The earliest work of Leonardo da Vinci
A small painted tile caused quite a stir among the scientists of the art world. This is because some scholars believe that the recently discovered work is Leonardo da Vinci's earliest known work

Interesting facts about painting
Paintings hold the secrets of the creator. Sometimes we manage to solve them, but many of them continue to be riddles, or simply stay unnoticed.


Thank you, your review has been sent successfully.
It will be posted on the site after moderation.