CONTENTS
- Ideas to get inspiration for a new painting
- Stretching the canvas
- Priming the canvas
- Preparatory drawing. Sketching the painting
- Selection of paint colors. Sketch correction
- Glazing with translucent paints
- Drying the painting after the first layer of oil
- Underpainting. Minor corrective work
- Drying of the underpainting
- Main painting of forms and volumes
- Drying after the main forms and volumes painting
- Details painting
- Generalization
- Complete drying
- Varnish coating
- Placing the artwork in a baguette frame
- Summary
Most of the world art masterpieces rightfully belong to oil painting. After all, oil painting is characterized by a special depth and variety of color shades, which are difficult and even at times impossible to achieve working with other paints. At the same time, oil painting requires particularly strict adherence to the stages of the painting process. If they are ignored, the end result is likely to disappoint the artist. After all, oil paints do not tolerate haste, and techniques generally require a multi-layered approach.
You will learn how to paint with oil paints in order to get the desired result and enjoy the process itself in this article.
Ideas to get inspiration for a new painting
The first stage in oil painting begins with the author's creative idea, which he/she wishes to embody on canvas. It marks the birth of the future artwork.
Sometimes the inspiration to create a picture comes suddenly and unexpectedly, and sometimes, the artist is in the search of it for a long time to create the "very" artwork. If you have decided to try yourself in oil painting, but have not yet been inspired by any idea, you can turn to methods that will speed up the process:
nature walks is a great way to recharge and be filled with new ideas. The diversity and beauty of nature have been one of the strongest sources of inspiration for artists in various fields;
reading, because the heroes of books often have a strong emotional impact on us. The characters of a good literary work force us to empathize with them, grieve and rejoice with them, and sometimes, resent and upset us. All these emotions and experiences can be embodied on the canvas in the plot of your painting;
theater and cinema, like books, also have a certain emotional impact on a person, which can further inspire creativity;
visiting galleries or online viewing of paintings by other authors also pushes you to take up a brush and start working with paints;
music has been creating mood and inspiring people since its inception in human history. Listening to your favorite songs or music is one of the most common ways to tune in the mood you want.
If you feel that your idea has not yet been fully formed and takes time to fully reveal, you should not rush to take up oil, you can simply stand in front of the canvas and mentally begin to imagine how you embody it on the canvas. Thus, you can understand for yourself whether you are ready to start implementing it, or if you still need time to finally and clearly form your idea.
Stretching the canvas
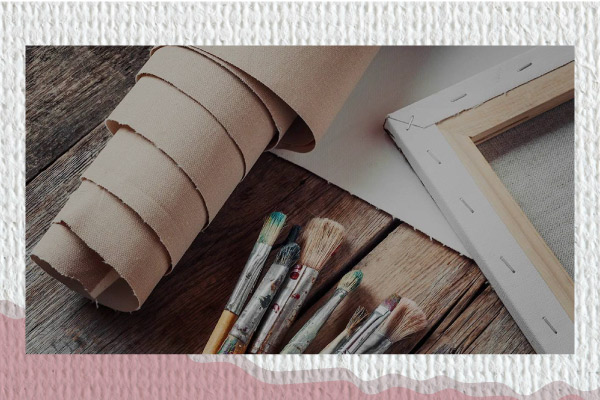
If your canvas has not yet been fixed on a stretcher, then the next step is stretching the canvas. Of course, if you decide to choose a canvas for your artwork, which is not the only, but the best option for painting with oil. You can find out how to choose the right canvas for oil painting in one of the articles on our blog.
If the canvas requires stretching, follow the instructions:
Measure the canvas so that on each side it is 10-15 cm larger than the wooden frame of the stretcher.
Place the canvas so that the long sides of the frame (if not square) run parallel to the threads of the canvas.
Fold over the top edge of the canvas and secure it with a staple tool in the middle. Then do the same with the bottom, but with a strong stretch of the canvas.
At this point, a fold appears on the back side. Do not be alarmed, it will disappear as soon as you do the same with the right and left short sides.
Now drive in the following staples, while it is necessary to move from the center to the edges and observe the same order: top, bottom, sides. The step of the staples should be 3-4 cm.
When 5-6 cm remains to the corners, it is necessary to make a neat bend and fix it with a staple. We do this with every corner.
The end result is that your canvas should behave like a drum when tapped, which requires a good tension on the canvas in the process. To do this, it is better to use special rubberized tongs to stretch the canvas, but you can also limit yourself to the strength of your hands.
Priming the canvas
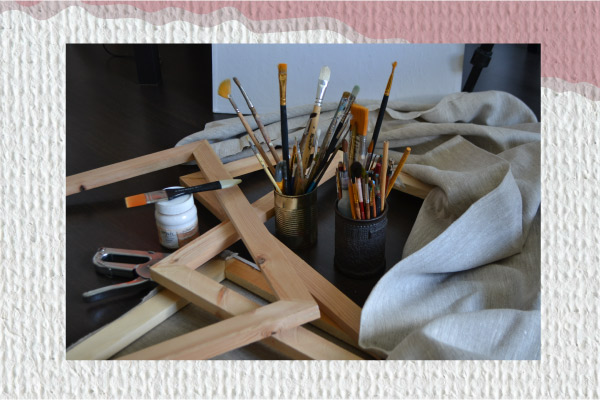
Specialized art stores often offer the buyer a ready-to-use primed canvas. However, if your canvas hasn't been primed yet, or you feel like the primer isn't good enough, you can do it yourself. It is advisable to use a primed canvas, since primer protects the canvas from the penetration of binders in the paint composition and contributes to the normal drying of the paint layers.
For further work with oil paints, both oil and acrylic primers are suitable for canvas. You can also use acrylic paint for construction work. Arm yourself with a wide brush and start applying primer onto the canvas with wide strokes. Then leave the canvas to dry for 12-14 hours, then apply a second coat of primer in the same way. Let the canvas dry again for 12-14 hours. Repeat the procedure 1-2 more times if desired, but usually two coats of primer are sufficient.
Preparatory drawing. Sketching the painting
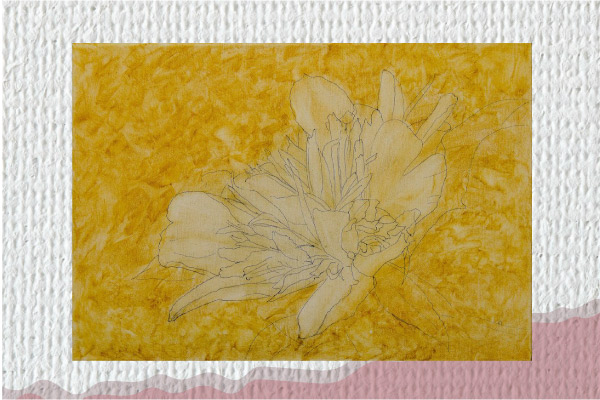
Armed with everything you need to paint with oil paints, you can start sketching a painting. At this stage, the artist creates the so-called preparatory drawing. To do this, you can use the following materials:
coal, since the line can be controlled by the onslaught of the hand, and also, the drawing can be easily corrected;
ink, but first it is better to dilute it slightly with water to avoid excessive contrast;
oil paints if you already have sufficient experience with them, since this option requires a confident hand and a keen eye.
It should be noted that it is not advisable to use a simple pencil for this purpose, since it can smear and get dirty on the canvas after applying paints.
The purpose of this stage is to create a general composition, the ratio of the forms and proportions of the future artwork on the canvas. The more detailed your preparatory drawing is, the easier it will be for you in subsequent steps. However, it doesn't make much sense to go into very small details here.
Selection of paint colors. Sketch correction
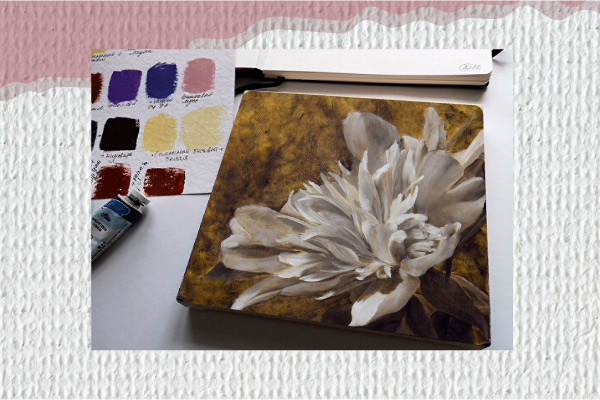
At this stage, you can still tweak your original idea or correct the preparatory drawing before applying the first coat of paint. If you are sure that you do not need to make any changes, prepare the paint colors you need. To do this, you need to select the colors and shades that will prevail in your painting. For example, if there is a lot of greenery in the image, prepare those colors that can convey its variety, but will not create unnecessary emphasis with their contrast.
To do this, it is not necessary to have a large assortment of oil paints, because the desired shade can be achieved by mixing them. You can read about exactly how to mix oil paints in one of the articles on our blog.
The main rule that must be followed: choosing colors and shades move from the first plan to the second and third. The main reference point is your foreground and its primary colors, all other color schemes should harmoniously fit into the work relative to it.
Glazing with translucent paints
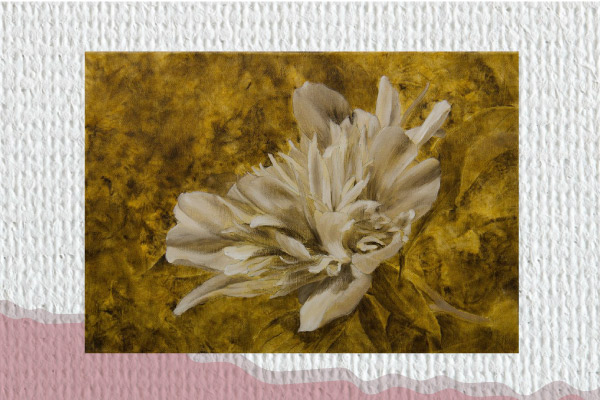
When the preparatory drawing is ready and dry, it's time to apply the first paint coat. It is performed with transparent glazing paints, which create a special depth in oil painting.
At this stage you need to use exactly those paints that are suitable for glazing. You can find out about this by the markings on the tube. It is depicted as a square, which can be black, black and white, or consist of a black outline with an empty inside. The first option speaks of strong opaque properties of the paint, the second - that they are translucent, the third - transparent. At this stage, the second option is best suited.
As a result, you should have a thin translucent film under which your preparatory drawing will be visible.
Drying the painting after the first layer of oil
The first translucent layer does not dry for long. This process takes from one to three days. You should not specially try to speed up the drying of the first layer, as well as all subsequent ones. Artwork should be placed in a well-ventilated area without excessive draft. Also, natural light or good artificial lighting is important. Indeed, in the dark, the drying process of oil paints is significantly slowed down.
Underpainting. Minor corrective work
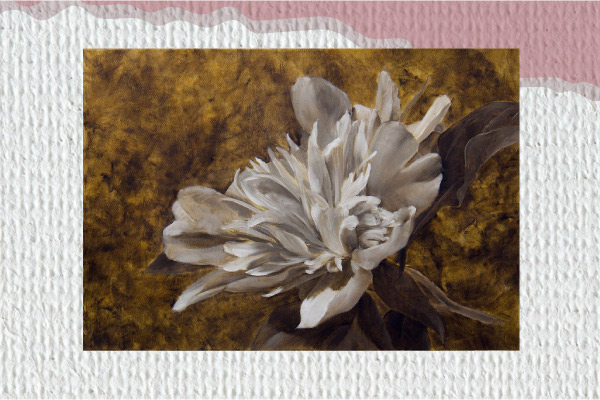
At this stage, the basic color combinations and textures are created. Here both opaque (black square on the marking) and translucent paints (black and white square on the marking) are used.
The paint should be applied in a thin layer, therefore, you can use a thinner for oil paints. Also, there is no need to detail the shapes of objects. The main purpose of creating an underpainting is to define the color-tonal relationship in the picture. Therefore, artists often use white for the correct placement of light and shadows in the composition. After all, the layout of the artwork should be well read at this stage.
Double-check if the color rendering matches your idea, as well as the interconnection of objects with each other, which is expressed in light and dark areas of underpainting. If you see errors, you can easily correct them while the paint is still wet.
Drying of the underpainting
The underpainting dries longer than the glaze layer. The process takes about a week. However, it may take longer depending on the thickness of the paint layer. The requirements for the room where the painting dries remain the same.
To see if a layer of oil paint is dry or not, slide your finger gently across the canvas. It should be noted that the absence of smearing paint on the finger does not yet guarantee that the underpainting is completely dry. It also should not be pressed under the pressure of the hand, but completely harden. After all, the oil dries from the outer layer to the inner layer and this can mislead a beginner.
Main painting of forms and volumes
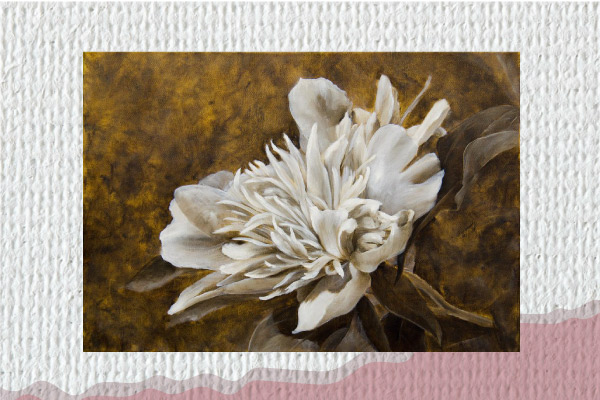
After the final drying of the underpainting, you can proceed to a careful painting of the shapes and volumes of objects in the picture. Here you can use a palette knife if you want to add expressiveness and texture to the artwork.
At this stage of the creative process, paints with high covering properties are mainly used, but you can also use semi-glossy ones. Also, whitewash is actively used to highlight light areas and penumbra.
There is no sense to cover all areas of the painting with another layer of paint just to comply with the technology. Pay attention to the places that require it. Here, the artist adds new details to the painting, while preserving the already created earlier.
Drying after the main forms and volumes painting
This stage can also be called "long drying", since it will last at least a month. Here, again, it all depends on the thickness of the paint layer, and of course, the conditions of the room where the painting dries.
Gently test the paint on the canvas with your finger to make sure it is completely dry. If the paint is springy, it is still damp inside, and it is too early to continue working on the painting.
Details painting
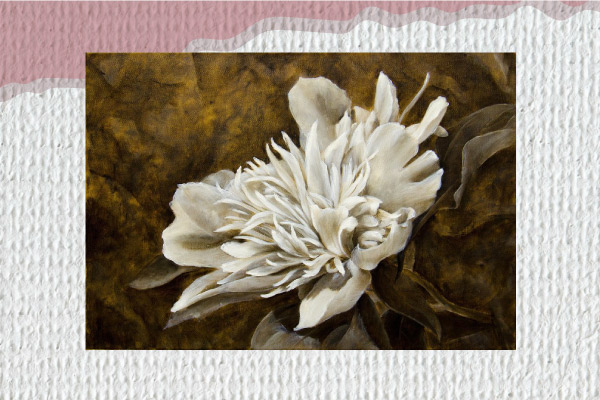
Only after finally making sure that the artwork is completely dry, we can proceed to this stage. Here the artist must act decisively, but not overdo it. After all, the presence of many carefully written details does not yet indicate a high level of skill, as this distracts the viewer's attention.
The main details are located closer to the foreground. They create a sense of reality and reveal the essence of the artwork.
It is best to limit yourself to 1-2 basic and carefully traced details that will attract the viewer's attention. They often can contrast on the canvas, thereby conveying the message of the author.
Generalization
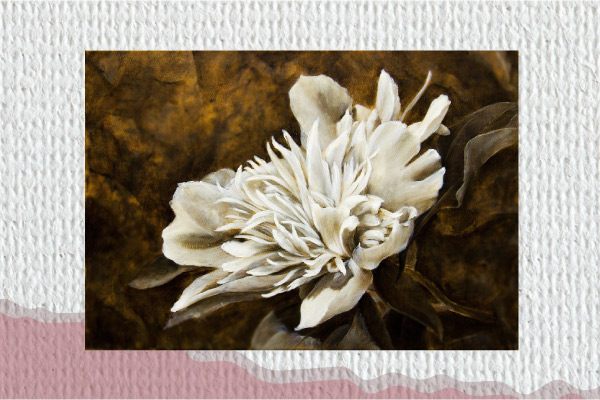
This stage involves writing off the background plan, brushing off unnecessary details and generalizing secondary forms. All this is necessary for the integrity of the picture and clarification of the artist's intention.
Here, a glaze can be applied, which will fill in the grooves left by the brush, and visually add depth to the picture. Also, you can apply the "dry brush" technique, which emphasizes the texture of objects. Most often it is used painting landscapes, when you need to convey the natural unevenness of the elements. It is also possible to lightly wave a rag over just painted objects so that they do not distract the viewer from the main plan of the picture.
Also, you need to pay attention to the edges of the painting, which should not be the focus of the viewer's attention. At this stage, the artist brings the placed accents to perfection, and finally separates the first plan from the second.
Complete drying
Now you need to be patient and leave the painting to dry completely. To check if the artwork is dry or not, you can also use a clean white rag, which should be passed with light hand pressure. However, it is better to check volumetric strokes with your finger.
When the painting is dry, it is necessary to carefully examine it and check for the presence of darkening or fading, or any other technological defects. If you find something, you can wipe the artwork with a clean cloth slightly dampened with linseed oil. This procedure can be repeated at weekly intervals. This will add shine to the paint and smooth out the resulting cracking.
Be careful not to overdo it with the amount of oil, because excess oil can form a sticky, cloudy layer, where dust and small household waste will settle.
Varnish coating
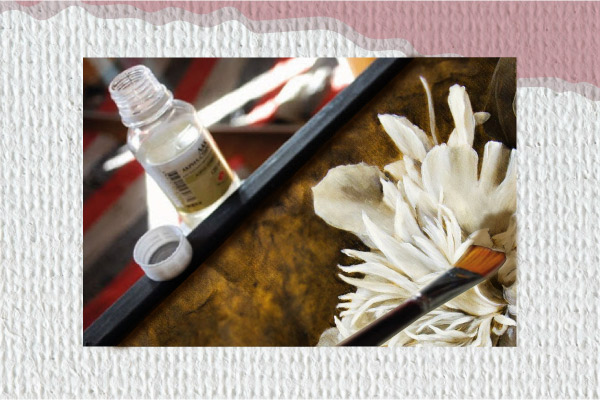
This is not an obligatory step, but it is worth going through it if you want to save the painting for a long time. After all, a protective varnish not only gives brightness to paints and a glossy shine to the whole picture, but also protects it from mechanical damage.
Please note that only top coat is used for this purpose. It is important not to confuse it with retouching or painting varnish. You can find out how to properly apply a protective coating on a dried painting in our article.
Placing the artwork in a baguette frame
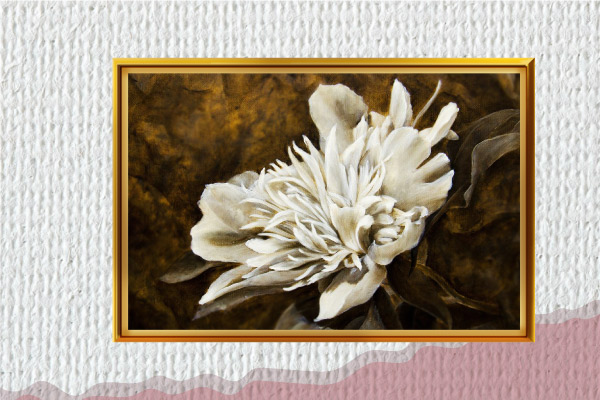
Before proceeding to the process of describing the placing of the painting in a baguette frame, it is worth noting that after that the painting will be more difficult to transport. This is why most artists leave their artworks unframed. However, the baguette serves as a frame that gives a special sophistication and completeness to the picture. With the help of a frame, you can highlight the essence of the artwork and highlight it favorably on the wall.
You can arrange a picture in a baguette frame in a special workshop, where you will be helped to choose the material and size according to your work of art. Of course, some craftsmen independently make frames of the required size and place paintings in them. However, this requires both special tools and skills. An inexperienced person will most likely only spend time and effort trying to build a baguette on their own.
Summary
The process of creating an oil painting involves a multi-step approach and takes more time than working with other materials. However, oil painting allows you to achieve depth and volume that are impossible working with watercolors, acrylics, pastels.
Therefore, it is not surprising that most of the world's masterpieces are representatives of oil painting, which, moreover, is distinguished by its durability. After all, a work of art covered with a protective varnish can retain its original appearance for centuries.
Of course, the certain complexity and length of the painting process can scare a beginner, but if you follow all the stages of multi-layer oil painting presented in this article, you can enjoy not only the end result, but also the process of working on the painting itself.

The earliest work of Leonardo da Vinci
A small painted tile caused quite a stir among the scientists of the art world. This is because some scholars believe that the recently discovered work is Leonardo da Vinci's earliest known work
Interesting facts about painting
Paintings hold the secrets of the creator. Sometimes we manage to solve them, but many of them continue to be riddles, or simply stay unnoticed.


Thank you, your review has been sent successfully.
It will be posted on the site after moderation.